I don't know if anyone is watching this thread closely enough to notice, but I've been lacking in adding new material. We put our house on the market on Tuesday and its been crazy juggling showings, kids, work, and offer negotiations. got a verbal agreement in place last night, so I am back in business!
Constructing the CrossbowWell, the first step in constructing a War Totem mounted Crossbow is this: find a crossbow. I spent a lot of time browsing my miniatures, looking in hobby stores, peeking online, to try and find a crossbow that looked good and was the right size. Then wouldn't you know it I found one right under my nose. I had a box of LOTR miniatures that I didnt even think to look through. In that box I had a blister of "Uruk-Hai with Crossbows" (model # D 05-62) that had a crossbow that fit the bill nicely.
Crossbow from Uruk-Hai blister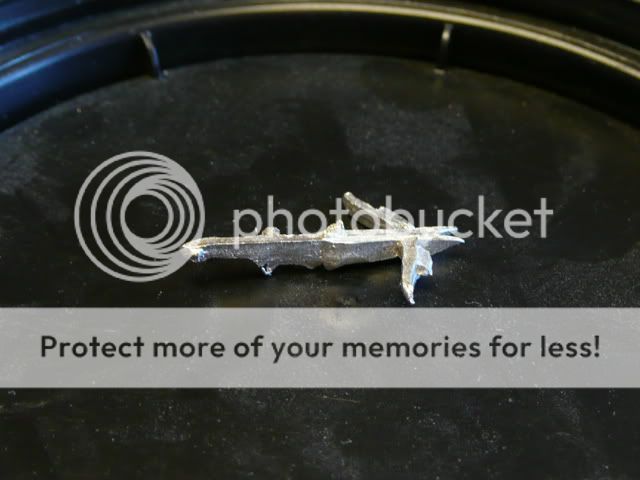
To mount the crossbow on the Totem, I dug through my workshop again, and came across something in my bin of "miscellaneous small electrical wiring doo-dads" that my Dad had given to me years ago. I'm not sure what to call this thing, but it is a short stubby cylider that ends in a ring. I'm sure its used for crimping and connecting wire. My thought was I could cut down the cylinder part, strip off the red plastic, and it could sit in the gap between the metal plates on the top of the totem. Then I would mount the crossbow inside the ring. I thought that would be fairly realistic as could imagine the ring rotating the crossbow horizontally, and the crossbow itself perhaps could tip up and down, allowing the operator to have full range of movement.
The "ring mount", before and after modification
So, gluing the ring mount to the Totem was easy enough. However, it proved difficult gluing the crossbow to the inside of the ring. I just didnt have enough surface area to attach it well. So I had to resort to a crude method of adding more surface area. I just glued two small pieces of paper clip to either side of the crossbow. That gave me enough surface area to attach the crossbow to the ring. That ended up working well enough and doesn't stand out too much.
Creating more surface area for gluing the crossbow Gluing the crossbow to the ring required some careful support
 The crossbow operator intently oversees the construction of his weapon
A couple more steps to add some flavor and realism. Again, looking through my electrical doo-dads, I came across another connector that I thought would be useful. This one ended in two mini-cylinders. I thought if I mounted those on the top of the crossbow, that they would represent the chambers of the two arrows that it can shoot every round. It was a simple matter of snipping those off, and gluing it to the top. Then I took some common small nails, cut off the ends, and attached them to the operator end of the crossbow. They would represent handles the operator would use to manuever the crossbow. The intent was that if the crossbow had handles, it would give the impression of larger size and more weight.
Another electrical "doo-dad" would serve as chambers for the arrows Almost ready to fire!
 Nails getting trimmed to use as crossbow handles
 Handles in place, fire when ready!
 Oops, a little crooked, but I can live with it (cant tell from most angles)
Ok, so now we have a weapon, but wait a minute...there's some things in those pictures that haven't been discussed yet. Let's backtrack just a bit...


