Ok, let's get this ball rolling!
So, you've got the flash and mold lines cleaned from your next unit-o-doom and you have slapped some glue on them and stuck them into their bases. Staring at them in wonder you notice that there is still a gap between the model's feet/cloak/claws/or what ever method of motion it uses and the base itself. You know if you put flock/static grass on the base it's gonna look like a small pot hole next to it's feet and
that...no matter how you slice it...is not gonna do...no sir.
Most veterans are aware that this is an easy thing to remedy but I got to tell you, I see a lot of figures(my older figs included from "yester-year")based but with holes next to the feet on the bases. This thing may not be important for you and it doesn't take away from "gettin your game on" (yes-I'm the dork that loves this little saying and if your not careful I'll say it again when your not ready

)

) but you know deep down you think to yourself "Man, I wish I would have fixed that at the time...oh well.". Well sir/ma'am, please allow me to show you how I go about this menial chore in order to prep (there's that word again) the fig for basing.
First, I want to talk about the putty type stuff I use to fill these gaps. Some may use "green stuff" or some type of epoxy/cement and these will do the job, but there is a cheaper solution and I want you to save that "jingle in your pocket" for more figs for your games. I use a generic type of wall filler/putty type product you could get from those department type stores that sell home/do-it-yourself type products. I think I got my tub from the dollar store for a buck and I'm still using it after 4 years. I do the following for all my figs these days so I don't have any regrets later. Here we go...
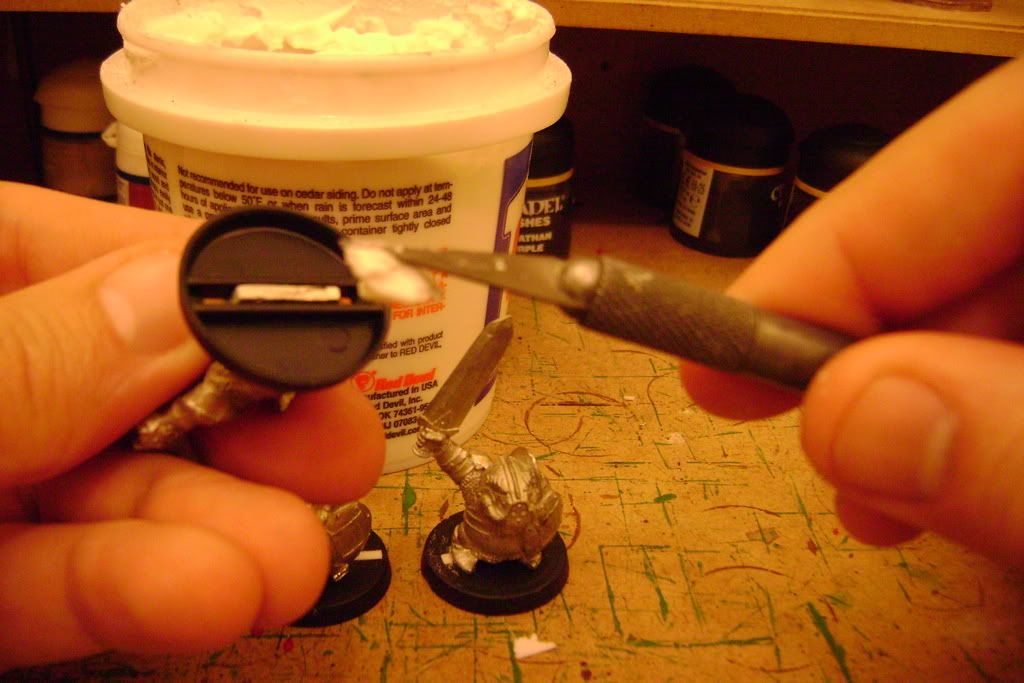
I take my hobby knife and cut out a little putty (consistency is just a little thicker than cake icing) and put the putty in the bottom of the base with the knife.
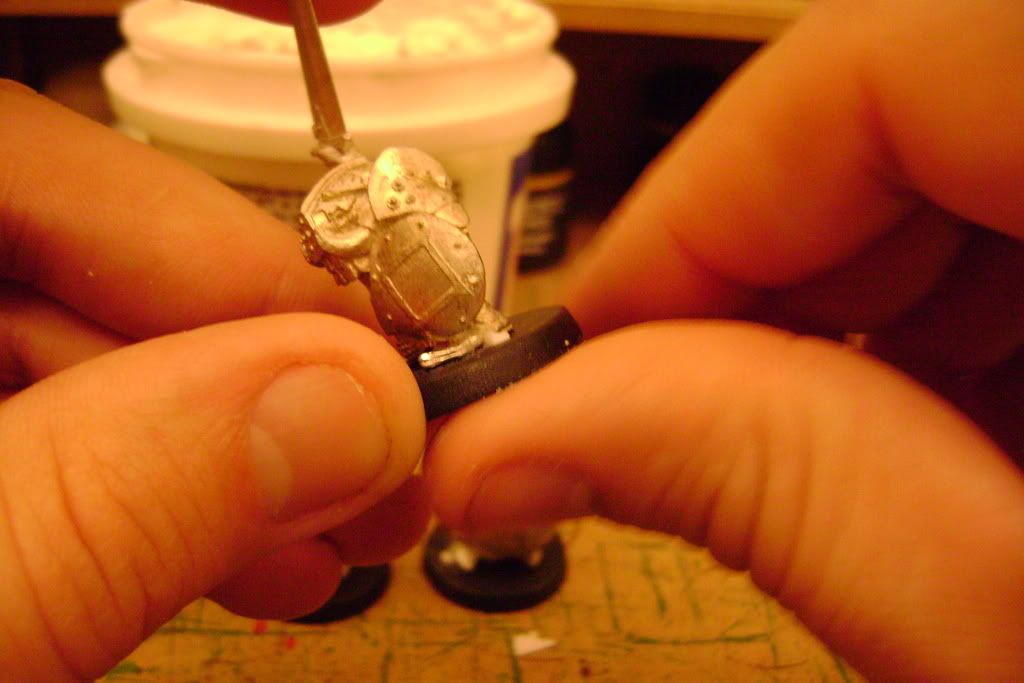
I make sure the putty is pushed up enough from the bottom with my thumb so that it comes out the top of the base just like those old "play doh" moments when you were little (and if you never got to play with "play doh" as a child---the world does owe you an apology).
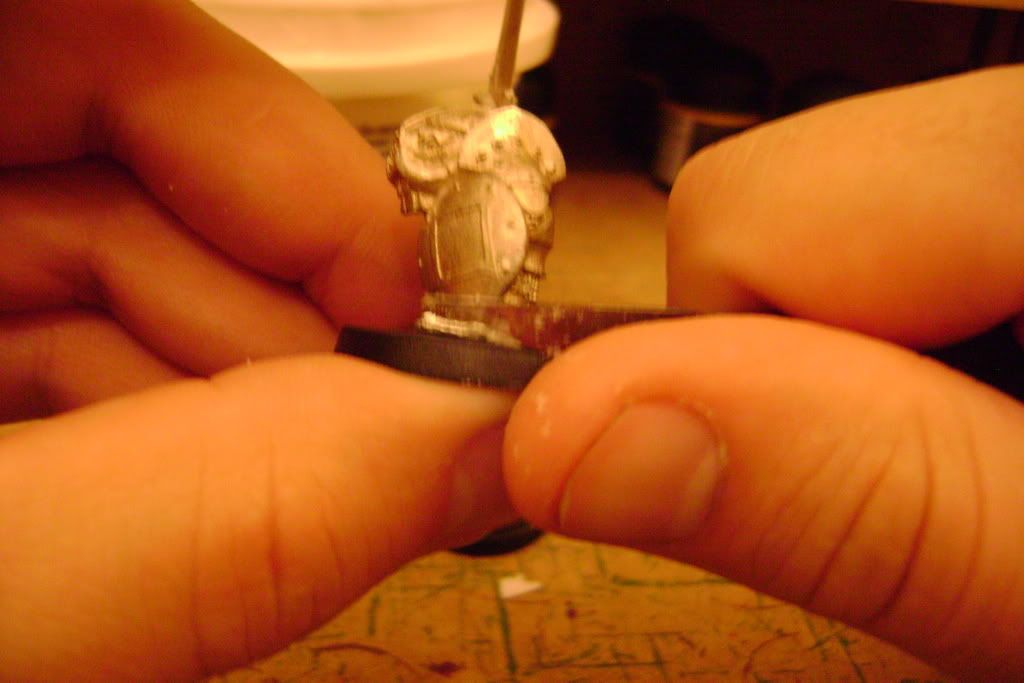
next I take my hobby knife and scrape the putty off the top of the base away from the figures feet/method of motion towards the edge of the base. You can also use the putty to level the gap between the figures feet.
flipping the model over to clean out excess putty with the hobby knife from the bottom of the base. It's also worth noting that having a paper towel or old wash cloth around helps keep your hands clean as you work with this stuff. It's not real messy, but I like staying tidy as I work...just a personal thing.

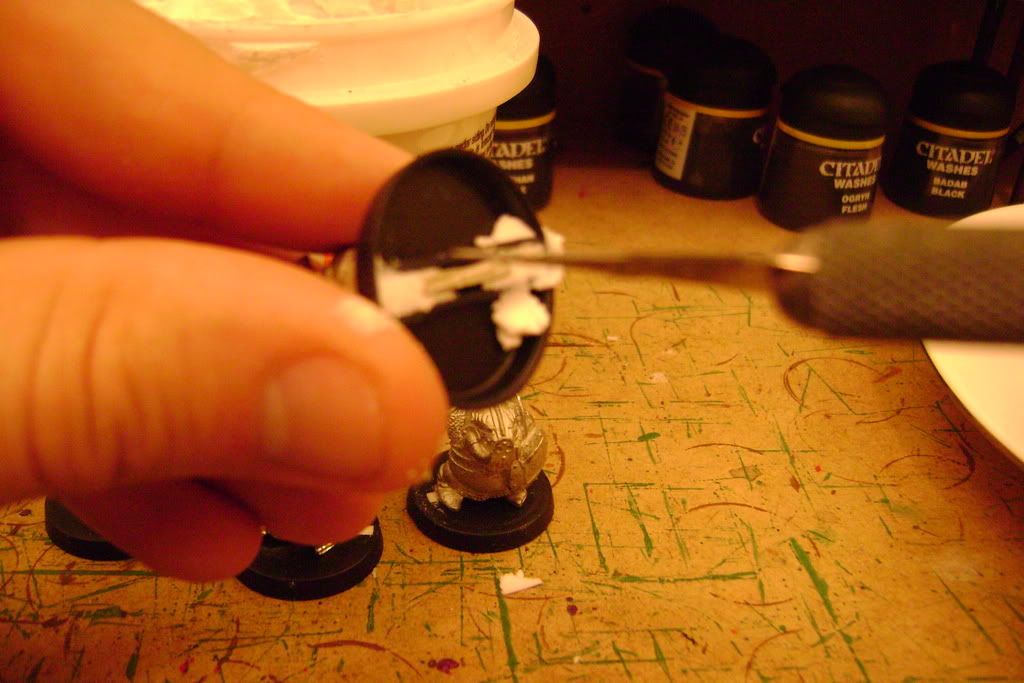
Now my unit of Dark Tusks are ready for a little basing sand. I have been asked by my friends if the putty gets old/dry won't it crack and fall out? I have not had one model lose it's putty filling yet because I think when I glue the sand on in the next basing phase it kinda holds it all together.
Well, the next step is deciding on what kind of basing substance you are going to use. I have grown to love using sand as the basic covering followed up with static grass after the sand has been painted, but that is for another discussion later. I know this is nothing new to the modeling world but I thought I would throw this in just in case someone new to the hobby with this problem stumbled into our forum.
**The thing is that I try to do this for a very large group of figs as I already have the stuff/equipment out and I've gotten down the timing of doing the same chore again and again every figure. **
I also listen to music/tv shows or movies just so I've got something going on in the back ground. Now as I only have a few pieces of hobby equipment out, I can put them and the figs away rather quickly and get back to the boring things in life. Hope this helps get you started on your basing or anything hobby related and be sure to stay with me guys... as there is more to follow.


