What an amazing battle, with a lot of surprises. Unfortunately the surprises mainly came from Bauhaus side not from our.
Bauhaus & Mishima took the victory, mainly due to a superb strategy.
But from the beginning.
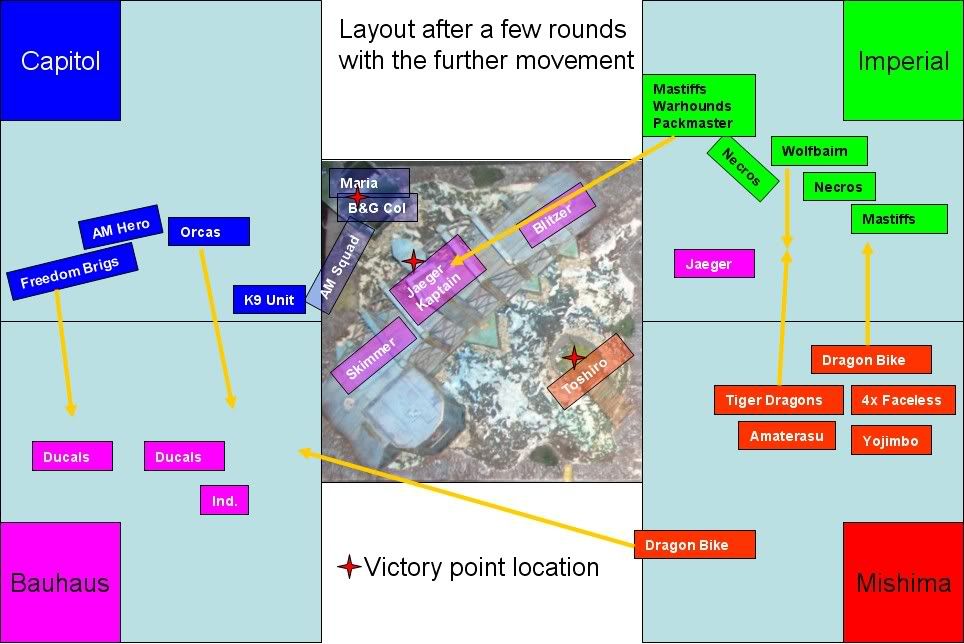
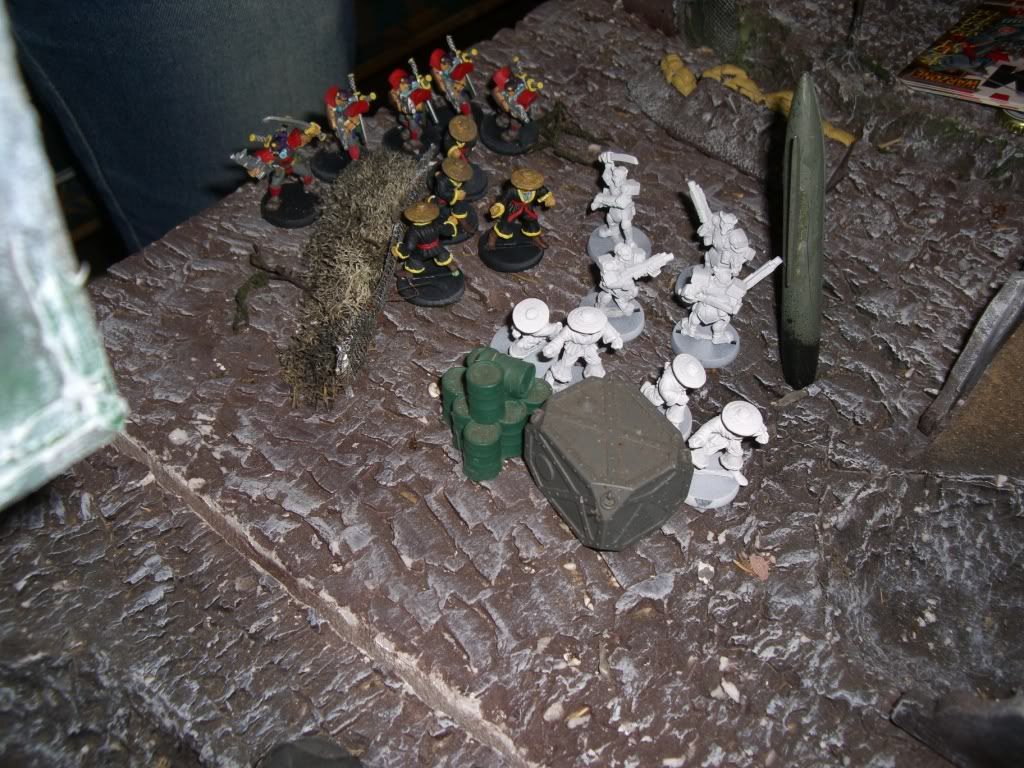
Here is the overwiev
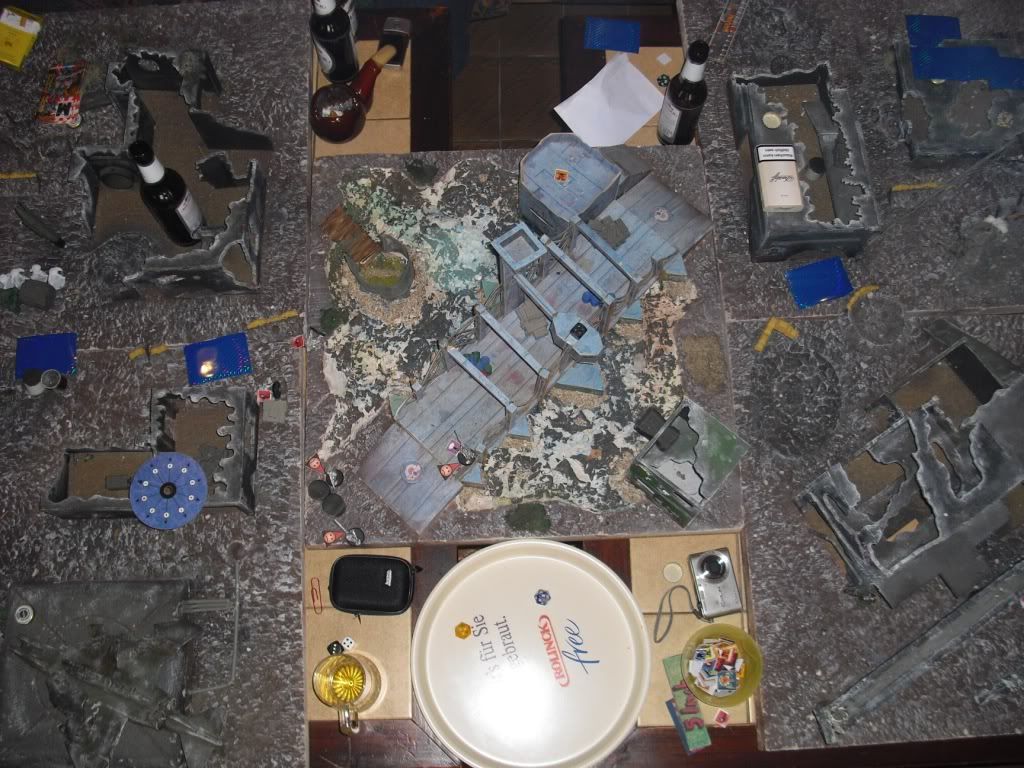
And the complete picture of the field (oh its turned around) please ignore the beer bottles
Imperial and I (Capitol) advanced from the south side. Our strategy was that I took the cottage near the bridge and support my ally from the bank.
Imperial should take the point on the bridge with its close combat units and shot the enemy at the little Isle with its Necromowers,
so that they make no victory point.
Our strategy was not bad. If the enemy at my side would have thrown his units at me, no problem I could have handled them.
If the enemy stormed the bridge, I would put him into a hail of bullets from the bank.
But Bauhaus and Mishima put the finger into our only wound.
They nearly completely ignored me. Mishima was standing directly against Imperial. Bauhaus deployed his Jägers on Imperials side, too.
And (big surprise) landed his Blitzer Parachuters on the foot of the bridge on Imperials side in the first round, too.
So in round one I had only a few enemies at my side and my army was to slow to chance side over the bridge. Imperial had nearly both enemies against it.
I had only to handle two Squads Ducals and the Skimmer and stormed as fast as possible with move 3. Mishima advanced to Imperial troops.
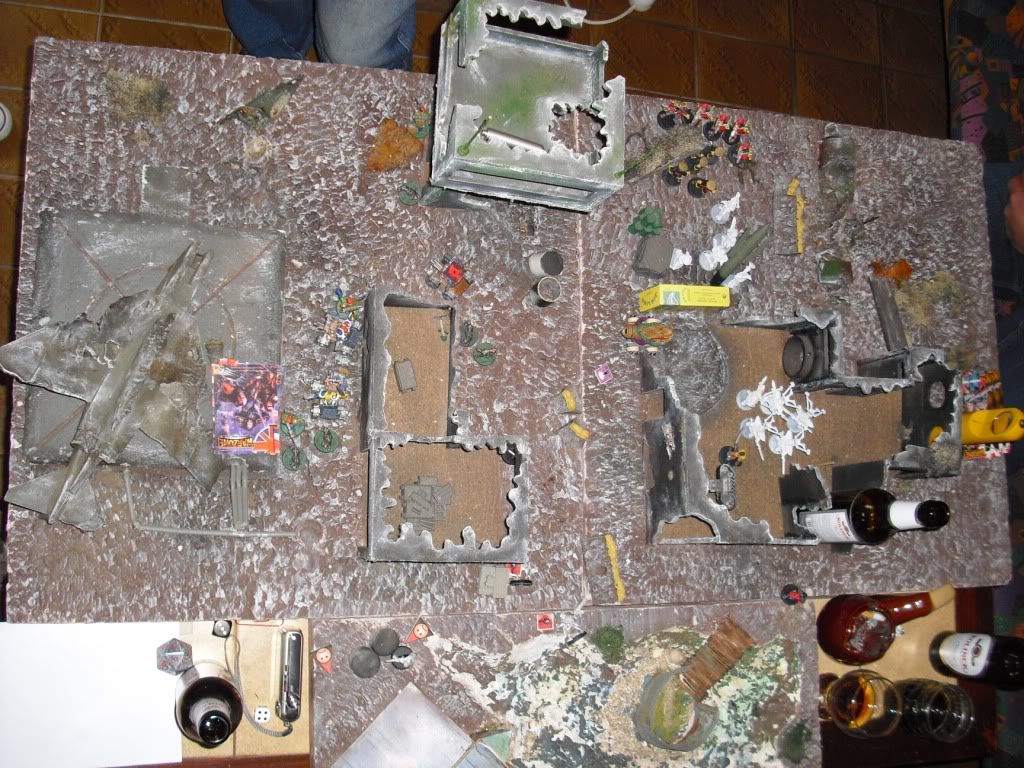
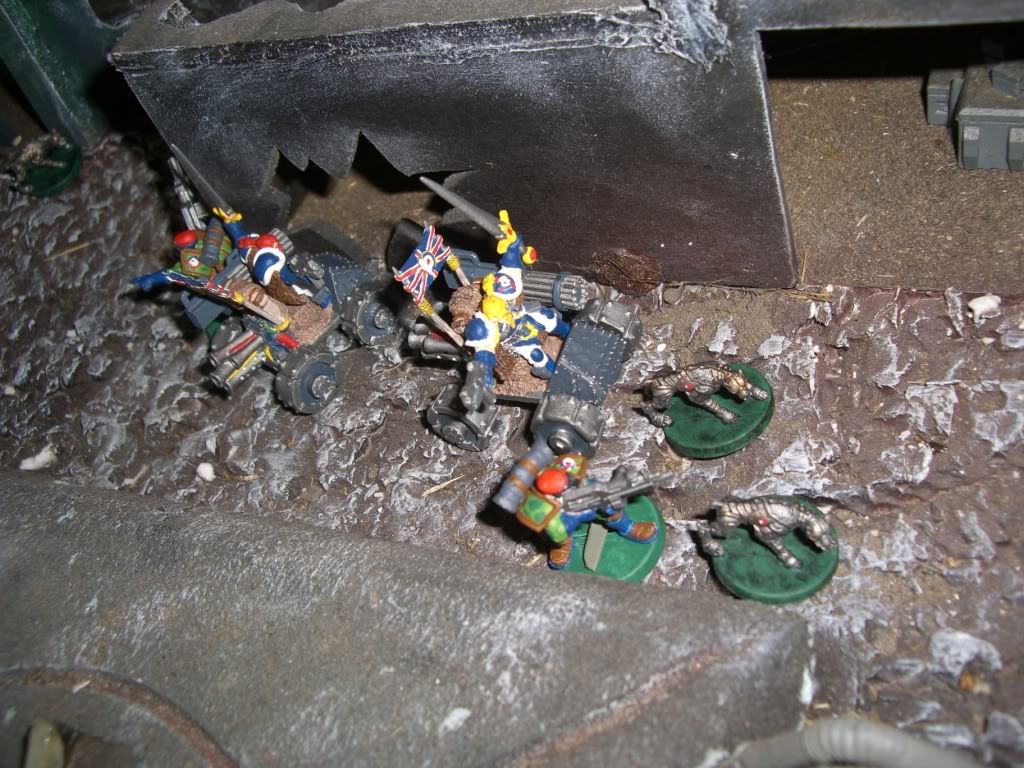
The side were the action was
In round two the Blitzer began to lay down a minefield on the foot of the bridge. Whats that for a ****.
A parachuting Squad completely with Demolition Training?
Our luck was that the Blitzer Kaptain fall directly into the claws of the Mastiffs in round two.
If he would have landed half an inch closer to the landing point he would have burned a lot of Imperials.
But on the other side Bauhaus killed Major Maria and the B&G Col (both on the victory point location) with only a few bullets because of the dice god,
who was not really on our side. So we made no victory point in this round. Toshiro took the point on the Isle unthreatened.
They took the lead with one victory point. The Necromower were able to shot down some Jägers and Blitzers.
Advancing Capitol
Round three. The Forces of Mishima advanced to Imperial. The Blitzers laid down more Mines. The Necromower were reduced by a Dragon Bike.
Imperial was moving his Wolfbairn in stealth to the bridge. The Jäger Kaptain climbed to the victory point location on the bridge. But my Assault Marines could kill him there, so no additional victory point for Bauhaus.
One of my Assault Marine took the place of the KIA Maj Maria in the cottage to make victory points.
Advancing Mishima
Imperial Defense
Round four: The Mastiffs tried to cross the bridge, but there was the mine field. The two dogs didnt activate the mines. Puh, has luck chanced?
No, because the Handler stepped on the claymore and didnt make his save. So the Mastiffs were useless, Arghhh.
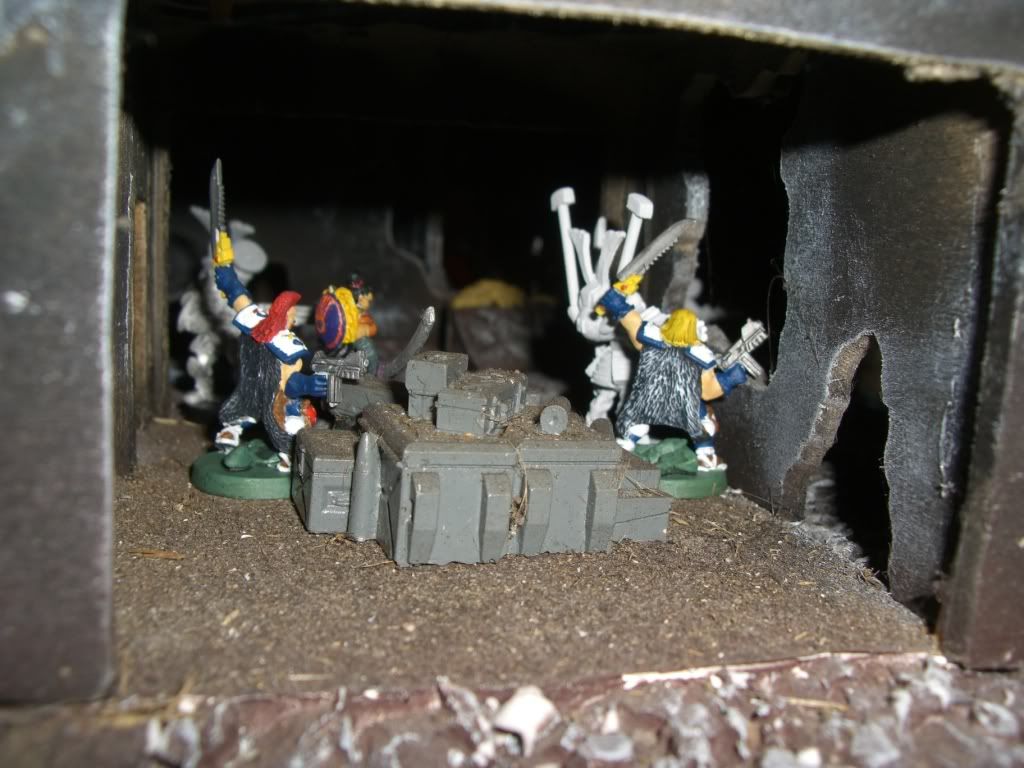
The Wolfbairn chanced their tactic and charged into the storming Tiger Dragoons where they stroke down plenty of them.
Yeaha, action for me. May Orca flamed down the Strike Skimmer, because I had the first initiative.
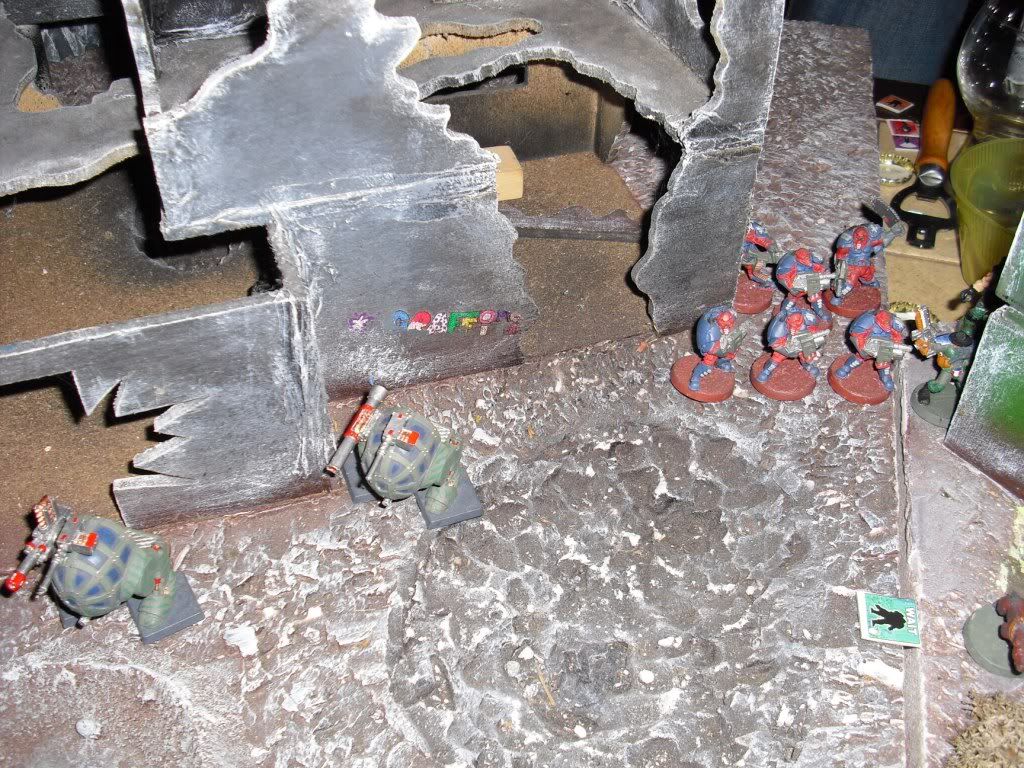
Wolfbairn
Round five. Another victim for my Orca? A Dragon Bike was standing in front of it.
But this time I lost initiative and the Dragon Bike made some holes in my Orca, to many holes.
The Packmaster and the Warhounds tried to get to the point on the bridge.
Uh I forgot the victory points. Bauhaus/Mishima were one point in the lead because of the kill of Maj. Maria in the second round.
Since that each side could hold its position and couldnt make a point in the middle of the bridge. So we needed one additional point on the bridge.
The Packmaster and two Warhounds were ready to make the points.
Round six. The Packmaster didnt get there. But one Warhound made its way between the mines into the bridge building. So we still had a chance.
Beside that Bauhaus had not much troops left. Imperial did a good job on them and my people had no problem to decimate them at my side
(but they were not many Bauhaus troops as I mentioned).
Imperial had not much troops left, too. The advancing Mishima stroke many of them down.
Back to the Warhound, our only hope. He had to make a Panic check and failed.
No, not now! Because if you are at the victory point location but in panic, you get no victory points!
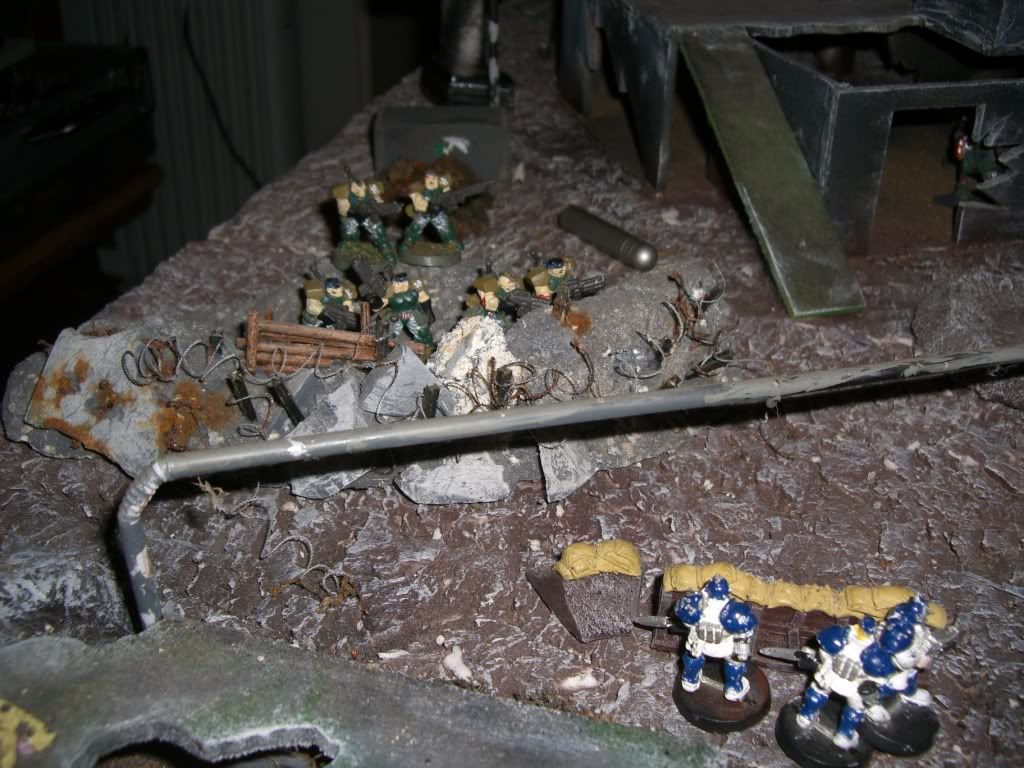
Sideplace Freedom Brigs vs. Ducals
Round seven. Our last chance to make a tied game was that the Warhound rallied itself.
A bad chance. To make it short, he didnt make it. So Mishima and Bauhaus won with one point in the lead.
Applause to their strategy to ignore me and put everything against Imperial. Luck for them that I was on the ignore side (which they didnt know before deployment), because my army was to slow. If Imperial had been on the ignore side the match would have been very different because Imperial had a fast army and my force could have handled the mass of enemies better I think.
But we are preparing revenge and it will be tremendous.


